Terminal Agent + Qwen3 实践指南

2025年5月16日 •
Terminal Agent 团队 •
10 分钟
Terminal Agent + Qwen3 实践指南
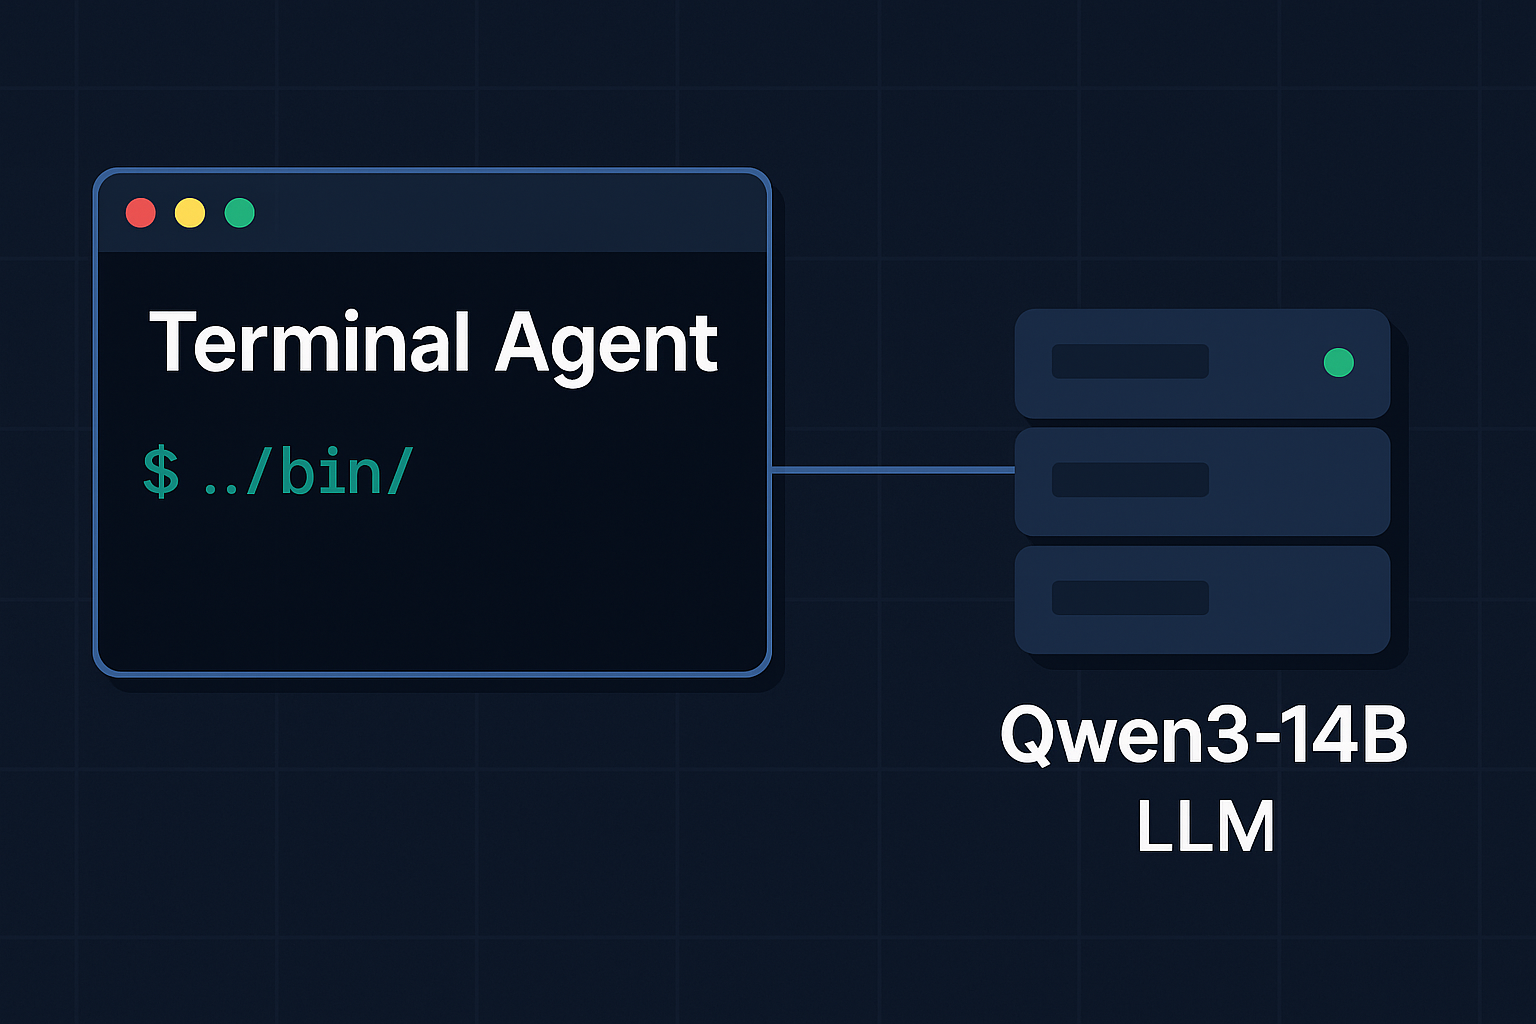
本文主要介绍 Terminal Agent 如何使用基于 vLLM 在本地部署的 Qwen3-14b 进行工作的,具体内容如下:
- 如何下载 Qwen3-14b 模型
- 如何使用 vLLM 部署 Qwen3-14b
- 如何配置 Terminal Agent 相关环境变量
- 演示视频
- 使用示例
1. 下载 Qwen3-14b 模型
Qwen3-14B 是阿里云开源的高性能大模型,可以通过 Hugging Face 或官方渠道下载。
- Hugging Face 地址:Qwen/Qwen3-14B
- 官方文档:Qwen 官方文档
下载示例命令:
huggingface-cli download Qwen3/Qwen3-14B --local-dir /mnt/models/qwen3
2. 使用 vLLM 部署 Qwen3-14b
vLLM 是高性能推理引擎,支持高效部署大模型。它通过连续批处理、PagedAttention 等技术大幅提升了模型推理性能。
安装 vLLM
建议使用 conda 或 virtualenv 创建独立环境:
# 创建虚拟环境
python -m venv vllm-env
source vllm-env/bin/activate  # Linux/Mac
# 或 vllm-env\Scripts\activate  # Windows

# 安装 vLLM
pip install "vllm>=0.8.5"
启动 vLLM 服务
假设模型已下载到 mnt/models/Qwen3-14B,可用如下命令启动 API 服务,另外关闭 qwen3的thinking功能,这样速度会快一些。另外,本文中使用的部署环境当中有4张T4的GPU卡,故将张量并行设置为4
vllm serve /mnt/models/qwen3-14b --served-model-name qwen3 --tensor-parallel-size=4 --chat-template ./qwen3_nonthinking.jinja
其中 qwen3_nonthinking.jina 内容如下
{%- if tools %}
    {{- '<|im_start|>system\n' }}
    {%- if messages[0].role == 'system' %}
        {{- messages[0].content + '\n\n' }}
    {%- endif %}
    {{- "# Tools\n\nYou may call one or more functions to assist with the user query.\n\nYou are provided with function signatures within <tools></tools> XML tags:\n<tools>" }}
    {%- for tool in tools %}
        {{- "\n" }}
        {{- tool | tojson }}
    {%- endfor %}
    {{- "\n</tools>\n\nFor each function call, return a json object with function name and arguments within <tool_call></tool_call> XML tags:\n<tool_call>\n{\"name\": <function-name>, \"arguments\": <args-json-object>}\n</tool_call><|im_end|>\n" }}
{%- else %}
    {%- if messages[0].role == 'system' %}
        {{- '<|im_start|>system\n' + messages[0].content + '<|im_end|>\n' }}
    {%- endif %}
{%- endif %}
{%- set ns = namespace(multi_step_tool=true, last_query_index=messages|length - 1) %}
{%- for message in messages[::-1] %}
    {%- set index = (messages|length - 1) - loop.index0 %}
    {%- if ns.multi_step_tool and message.role == "user" and not(message.content.startswith('<tool_response>') and message.content.endswith('</tool_response>')) %}
        {%- set ns.multi_step_tool = false %}
        {%- set ns.last_query_index = index %}
    {%- endif %}
{%- endfor %}
{%- for message in messages %}
    {%- if (message.role == "user") or (message.role == "system" and not loop.first) %}
        {{- '<|im_start|>' + message.role + '\n' + message.content + '<|im_end|>' + '\n' }}
    {%- elif message.role == "assistant" %}
        {%- set content = message.content %}
        {%- set reasoning_content = '' %}
        {%- if message.reasoning_content is defined and message.reasoning_content is not none %}
            {%- set reasoning_content = message.reasoning_content %}
        {%- else %}
            {%- if '</think>' in message.content %}
                {%- set content = message.content.split('</think>')[-1].lstrip('\n') %}
                {%- set reasoning_content = message.content.split('</think>')[0].rstrip('\n').split('<think>')[-1].lstrip('\n') %}
            {%- endif %}
        {%- endif %}
        {%- if loop.index0 > ns.last_query_index %}
            {%- if loop.last or (not loop.last and reasoning_content) %}
                {{- '<|im_start|>' + message.role + '\n<think>\n' + reasoning_content.strip('\n') + '\n</think>\n\n' + content.lstrip('\n') }}
            {%- else %}
                {{- '<|im_start|>' + message.role + '\n' + content }}
            {%- endif %}
        {%- else %}
            {{- '<|im_start|>' + message.role + '\n' + content }}
        {%- endif %}
        {%- if message.tool_calls %}
            {%- for tool_call in message.tool_calls %}
                {%- if (loop.first and content) or (not loop.first) %}
                    {{- '\n' }}
                {%- endif %}
                {%- if tool_call.function %}
                    {%- set tool_call = tool_call.function %}
                {%- endif %}
                {{- '<tool_call>\n{"name": "' }}
                {{- tool_call.name }}
                {{- '", "arguments": ' }}
                {%- if tool_call.arguments is string %}
                    {{- tool_call.arguments }}
                {%- else %}
                    {{- tool_call.arguments | tojson }}
                {%- endif %}
                {{- '}\n</tool_call>' }}
            {%- endfor %}
        {%- endif %}
        {{- '<|im_end|>\n' }}
    {%- elif message.role == "tool" %}
        {%- if loop.first or (messages[loop.index0 - 1].role != "tool") %}
            {{- '<|im_start|>user' }}
        {%- endif %}
        {{- '\n<tool_response>\n' }}
        {{- message.content }}
        {{- '\n</tool_response>' }}
        {%- if loop.last or (messages[loop.index0 + 1].role != "tool") %}
            {{- '<|im_end|>\n' }}
        {%- endif %}
    {%- endif %}
{%- endfor %}
{%- if add_generation_prompt %}
    {{- '<|im_start|>assistant\n<think>\n\n</think>\n\n' }}
{%- endif %}
参数说明:
--tensor-parallel-size:使用的 GPU 数量--chat-template:模型使用的对话模板--served-model-name:对外服务时model name
如需多卡部署或更多参数,请参考 vLLM 官方文档。
3. 配置 Terminal Agent 环境变量
在 Terminal Agent 运行环境中,设置以下环境变量即可对接本地 vLLM 服务和 Qwen3-14b 模型。
# 使用 vLLM 作为模型提供商
TERMINAL_AGENT_PROVIDER=vllm

# 设置 vLLM API 地址
VLLM_API_BASE=http://localhost:8000

# 可选:设置默认模型名称
TERMINAL_AGENT_MODEL=qwen3

# 可选:设置 API 密钥(如果配置了认证)
# VLLM_API_KEY=your_api_key_here
您可以通过以下方式设置这些环境变量:
- 直接在命令行设置(临时):
export TERMINAL_AGENT_PROVIDER=vllm
export VLLM_API_BASE=http://localhost:8000
- 添加到
~/.terminal_agent/.env文件(永久):
# 创建或编辑配置文件
mkdir -p ~/.terminal_agent
echo "TERMINAL_AGENT_PROVIDER=vllm" >> ~/.terminal_agent/.env
echo "VLLM_API_BASE=http://localhost:8000" >> ~/.terminal_agent/.env
echo "TERMINAL_AGENT_MODEL=qwen3" >> ~/.terminal_agent/.env
4. 启动 Terminal Agent
现在您可以启动 Terminal Agent 并开始使用 Qwen3 模型了:
terminal-agent
启动后,您应该能看到类似以下的输出:
[Terminal Agent] 已连接到本地 vLLM 服务
[Terminal Agent] 使用模型: Qwen3
[Terminal Agent] >
5. 使用示例
具体演示视频如下:
此视频展示了 Terminal Agent 如何与本地部署的 Qwen3-14B 模型协同工作,提供快速高效的终端助手服务。
如有问题,欢迎在 GitHub 提 Issue 交流。
